
Nothing can be more joyous than a kitchen buzzing with pizza preparations, guests sipping drinks, and golden, fragrant pizzas coming out of the oven. While pizza recipes abound and so too, advice about how to make a good pizza, some challenges can drive even the best cook out of the kitchen ready to order out. One of the challenges is time, of course. When my boys were growing up, the easiest way to get a pizza on the table was to make it in a large sheet pan and cut the pizza into squares just like the Italians like to eat their pizza street-wise on the run. I would make two large pizzas, one white with cheese and onions, the other with tomato, cheese, and whatever toppings (prosciutto, mushrooms, olives…) I had on hand.


But what if you are cooking only for two or three diners, one likes the pizza very thin, the other thick….one likes only sliced tomatoes and basil, the other fully loaded, what does a cook do? Cooking individual pizzas is not as easy as it seems because of timing. One person’s pizza is ready while the other waits impatiently (of course they could share). The other issue is the baking unit…will be the Breville (toaster) oven, the large oven, or the barbecue? If it is one oven…the process may take more time than expected as happened to me one night when I decided to use only the Breville. Even though it is only 20 minutes cooking time, there are four more pizzas waiting to be cooked. That can mean disaster!
One evening in recent times, I decided to kick all three cooking units into gear and see how quickly I could get all pizzas on the table at approximately the same time. This sounds a little crazy, but it also served as a testing ground for which cooking method was the best. And everyone could have their pizza as desired!
A word about the Breville oven. I have a Breville Smart Oven Pro with Light which I love because it functions like a regular oven and virtually can bake just about anything. If you have just yourself or another diner, this is the best option because it is practical, quick, and cool in the summer when it is raging hot outside. It comes with a 13″ nonstick pizza pan which work really well. I oil the pan with a thin layer of olive oil before putting the dough on it. If I have time, I let it rise a bit while I am assembling the rest of the ingredients.
Pizza Dough
Ingredients
-1/2 cup warm water
-1 package (1/4 oz.) active dry yeast (rapid rise works well too)
-1 1/4 cups water
-2 tablespoons olive oil
-1 1/2 teaspoons salt
4 cups bread flour + more needed for working the dough
Directions
1.Measure the warm water in the mixing bowl. I use a KitchenAid mixer with a paddle hook. Add the yeast, and a pinch of sugar and allow to bloom about 10 minutes. Add the remaining water, then one cup of flour. Add the salt and the olive oil.
2.Add the remaining flour one cup at a time, mixing this time with a dough hook until well blended and dough forms a ball. Turn out onto the work surface and work it a bit with your hands. Form a ball and put into an oiled bowl, cover with plastic wrap. Allow to rise until doubled. Turn out into a floured surface and divide the dough into 5-6 balls, ready to use. I flatten the balls into a circle with my fingers, then gently stretch from the edges to form a pizza round.
The Prep
To make pizzas à la carte, prepping is key. Have everything ready to go – the toppings prepped in little bowls so your diners can make their choices, the olive oil on stand-by, the cheese (shredded or sliced) at hand and voilà…the pizzas will come together in a flash.Whatever your preferences are, one thing is certain: avoid pizza “sauces”. Italians don’t use a pre-cooked tomato sauce. Use finely chopped fresh tomatoes or even tomatoes from a can. Freshness is key.
Toppings can vary according to your taste and to what you have on hand.Here are some of my favorites: sliced fresh tomatoes, olives (of all types), anchovies, prosciutto, marinated artichokes, onions (green, yellow, red….), cooked mushrooms – or raw (the flavor is different). Another favorite, unusual – but common in Italy, sliced parboiled potatoes (see the pizza above). Layer thinly sliced potatoes over the dough, then cheese, some thinly sliced onions, salt and pepper, a drizzle of olive oil. Prepping the toppings and prepping the pizzas is where the joyous dance in the kitchen begins.
The Cheeses
Mozzarella is the obvious choice for most pizzas, but not really my favorite. Mozzarella here in the United States doesn’t have much flavor when baked. It turns to nothing, a little runny, when baked and so it’s a bit disappointing. My cheese of choice is Monterey Jack for its tangy flavor, structure, and good melting point. I also like to mix it up a bit and add gorgonzola or taleggio when I have it. These are fabulous with mushrooms!
The Seasonings
Salt and pepper of course. But try oregano (even fresh if you have it), red pepper, even thyme or rosemary. Add fresh basil at the last moment before you serve.
The Baking
I preheated my oven at 450 degrees and my gas barbecue at 500+. I then preheated the Breville at the pizza function. When ready, I started with the Breville pizza first as it cooked pretty much on its own, then turned my attention to the oven. Note I don’t use a pizza stone because I like to lightly oil my baking pans – I find it provides more flavor. The tricky method is the barbecue.Turn off the middle burners so you have indirect heat. Make sure the grates are clean and well oiled. Lightly oil the pizza dough as well and then quickly flip it down on the grill. If it doesn’t turn out a perfect round….oh well! Standby because as the dough rises and puffs, it needs to be turned. Lightly oil the unbaked side, then turn it, and add the toppings.


Another solution is this nifty gadget

which puts out perfectly round pizzas with little fuss. Surprisingly, the barbecue pizza took the longest and needed the most attention. The Breville pizza took the least amount of time and came out perfectly.
But which pizza did my diners prefer? They couldn’t tell me….
")


Whatever the method of baking, take pride in your creation, have fun with your choice of toppings and fear not how it comes together – there is no such thing as a bad pizza day made at home!


 2.While the farro is cooling, prep the other ingredients. Slice the cherry tomatoes in half. If they are particularly small, leave them whole.
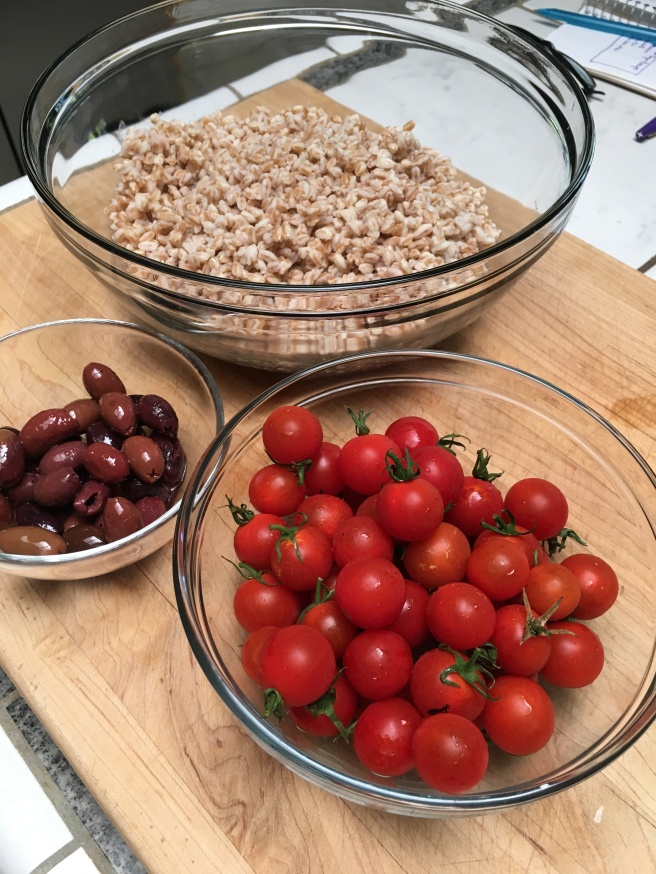 Slice the kalamata olives and set aside. Prepare the red onions and kale by chopping them finely. Once the the farro has cooled, add all the ingredients including the raisins. Season with salt and pepper to taste. Dress it with olive oil and the juice of 1/2 lemon. Start with this amount and then increase to suit your taste. Cover and refrigerate.
